Posts
Global Protect Yubikey Instructions
Written by on
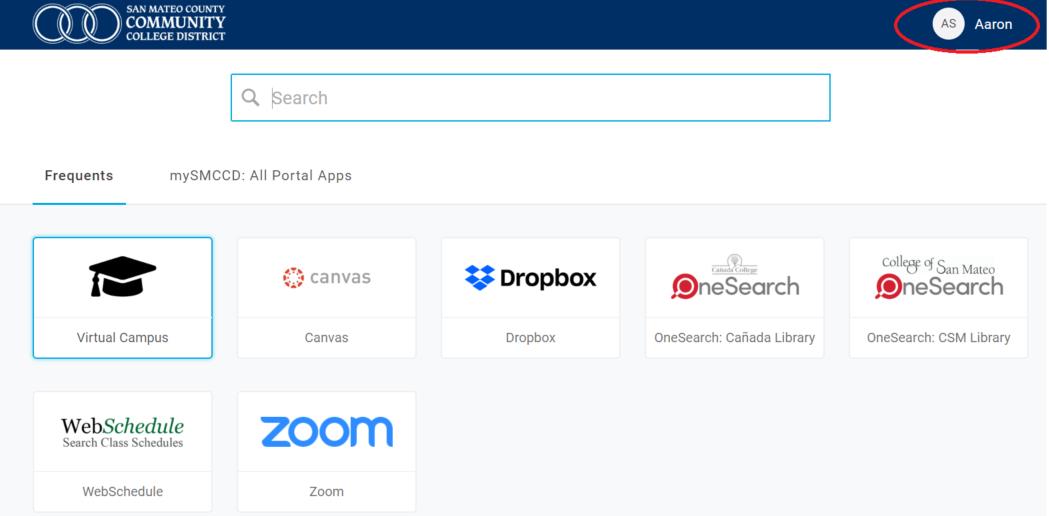
1. Go to “https://smccd.onelogin.com/portal/” and click on your profile
2. Click “+” sign to setup “Yubikey” authentication

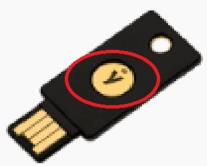
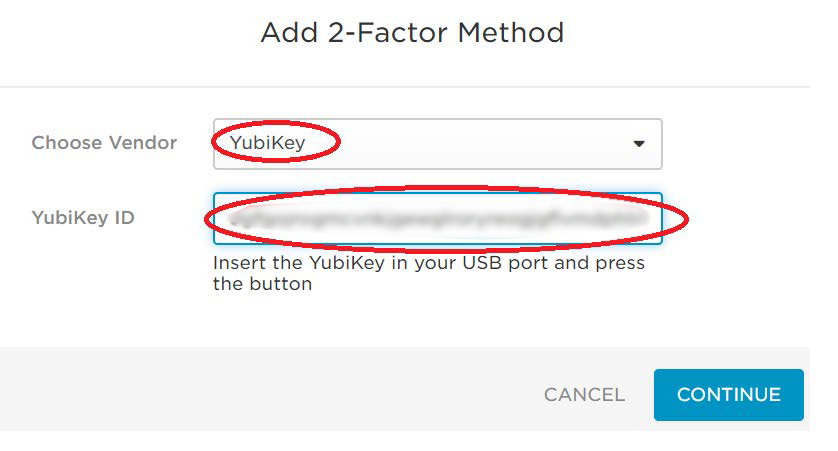
3. Insert your Yubikey 5 NFC in your USB and wait until the windows installed the driver automatically and ready to use. Under “Choose Vendor”, click “Yubikey”. Under Yubikey ID, press the button (circled in “red” in the following image).
It will auto fill up the encryption key, then click “Continue” button.
4. Yubikey authentication is setup in Onelogin profile.
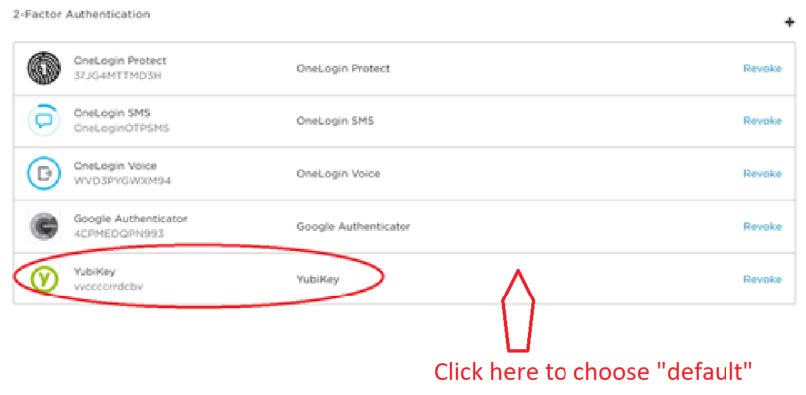
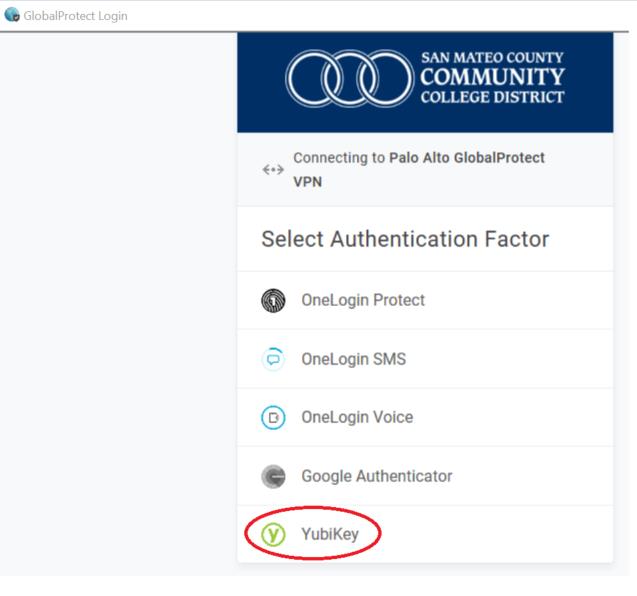
5. Then MFA will pops up and asking which MFA method you want to use, then choose “Yubikey”. If you want to set “YubiKey” as default, then go back to item number 4 and click “Yubikey” as default, then it will skip this part and won’t ask you to choose a method the next time.
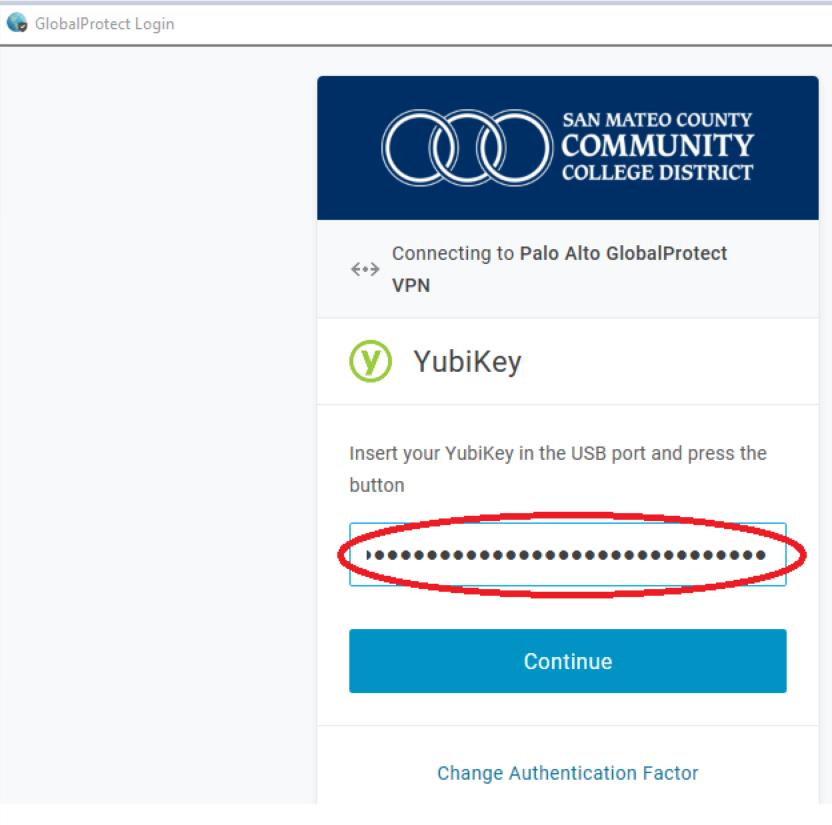
6. Under Yubikey ID, press the button (circled in “red”)

It will automatically fill the encryption key, then click “Continue” button and you will connect Global Protect VPN with Onelogin MFA.