
Posts
Step-by-Step: Adding OneLogin Protect as a Security Factor
Written by on
1. While being signed into the OneLogin portal, click on your username and then click Profile

2. Click on Security Factors

3. Click on Add Factor

4. Click on OneLogin Protect

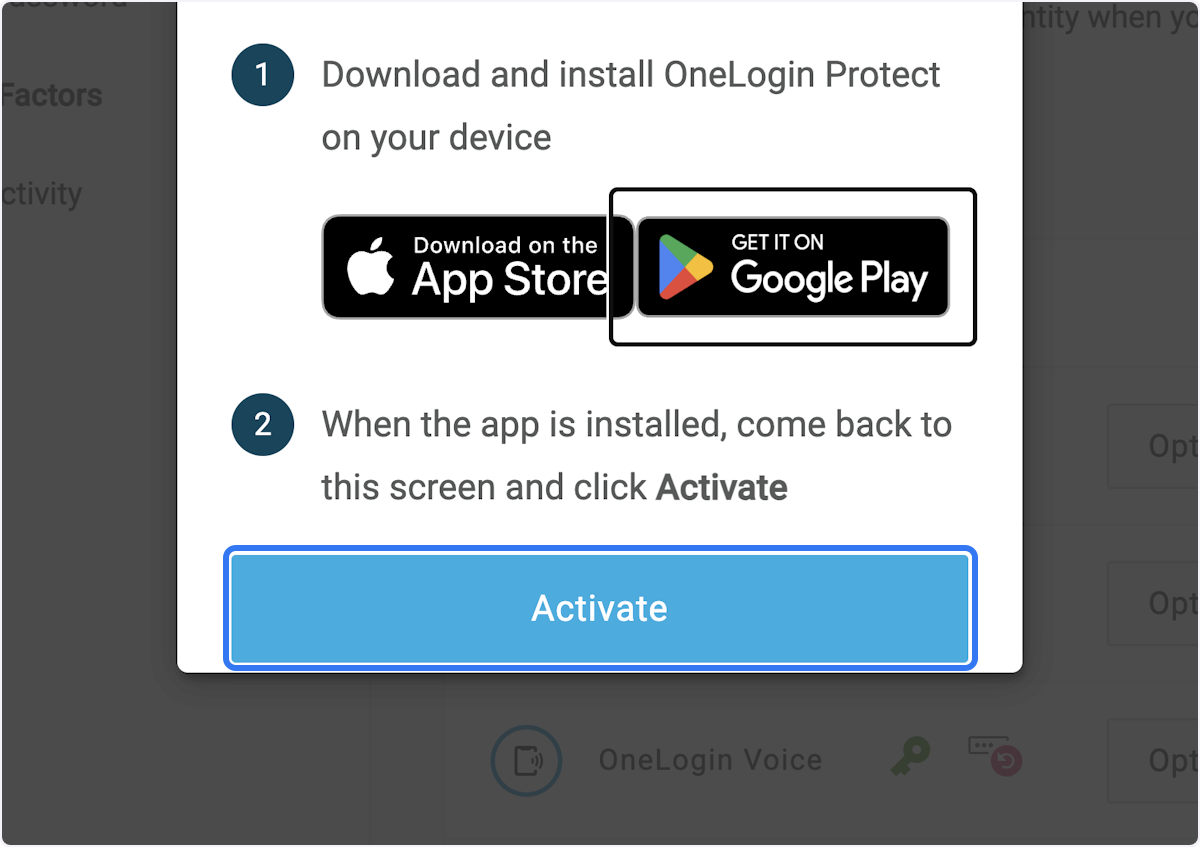
5. Download “OneLogin Protect” from your phone’s app store, then click on Activate in your browser.
Note: A QR code will appear on your browser screen.
6. Using the “OneLoginProtect” mobile app on your phone, click the plus icon in the bottom right to add your account.

7. When the camera opens, use it to scan the QR code.

8. Back in OneLogin, sign in, this time selecting OneLogin Protect as your second factor instead of OneLogin SMS.

9. If a notification appears on your phone, you can approve your sign in and your browser will automatically complete the sign in process.
If no notification appears, open the OneLogin Protect app on your phone and enter the code that appears into your browser.

You should now be signed into OneLogin.